
A Guide to Sprouting at Home(Step by Step)
Discover the joy of sprouting at home! Sprouting is not only an economical and enjoyable way to enhance your culinary experience but also a fantastic way to incorporate live, nutrient-rich food into your diet. In this blog post, we will explore the art of sprouting at home, guiding you through the process.
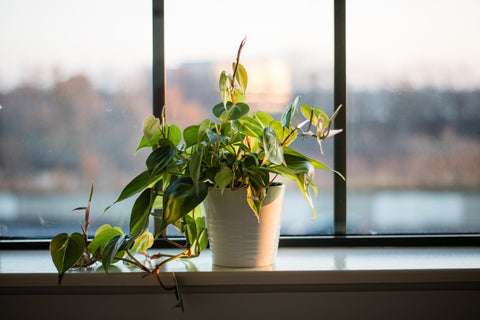
Step 1: Find a suitable place in your home
Choose a well-lit and airy spot, but avoid direct sunlight. The best location for sprouting is somewhere cool with consistent light levels, such as a north-facing window sill or a shaded worktop. Adequate air circulation is essential, so select a place with good airflow and avoid placing your sprouting container in a cupboard.
Step 2: Prepare your equipment
Use our 2 kinds of equipment to best for sprouting and ensure that they’ve thoroughly cleaned from the beginning using hot soapy water. Remember to wash your hands before handling the equipment, seeds, or sprouts.
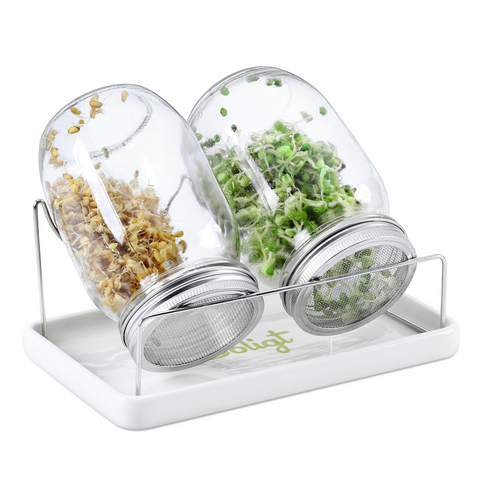
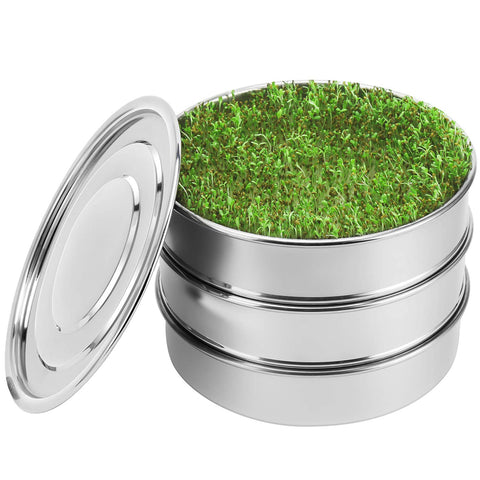
Quick Click To Complete Your Equipment
Step 3: Soaking
The seeds need to be soaked in water for up to 12 hours to rehydrate them and initiate the germination process. Place the seeds in a bowl or jar, then add water—approximately 2-3 times the amount of water compared to the seeds. Keep the container in a dark place at room temperature for 8-12 hours.

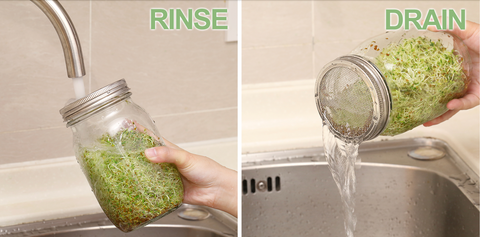
Step 4: Rinsing
Once you have soaked the seeds and started the germination process, the next stage is to rinse and drain them until they begin to sprout. Use cool water for rinsing and repeat this process 2-3 times a day. Regular rinsing helps prevent bacterial buildup. For specific instructions based on your equipment, refer to the provided information. The ideal temperature for sprouting is around 20°C to promote germination without encouraging bacterial or mold growth.
Step 5: Maintaining Airflow
After rinsing the seeds, it is important to keep them moist for growth but avoid excessive wetness. Ensure that the seeds are spread out to allow for good airflow. If using a glass jar, choose a long and wide one to avoid overcrowding the seeds. When draining, gently shake or tap the container to remove excess water.
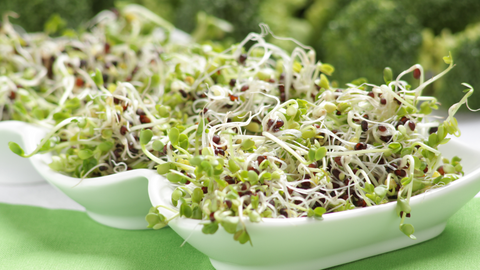
Step 6: Harvesting and storing
Home-grown sprouts, such as aduki beans and lentils, will be ready to eat in approximately three days when a small shoot becomes visible. Sprouts like alfalfa or radish are typically harvested when they reach about 3cm in length, which takes around six days.

Saving Tips For Sprouts
To harvest the sprouts, give them a final rinse and thoroughly drain the water. Avoid storing sprouts while they are still wet. You can remove excess moisture by placing the sprouts in a muslin or tea towel. Then, use a salad spinner or gently pat them dry with a kitchen towel before transferring them to a container in the refrigerator.
When kept under the right conditions, home-grown sprouts that are ready to eat can last up to five days. However, shop-bought sprouts, which have already gone through transit and storage, should only be kept in the refrigerator for about two days.
The Food Standards Agency recommends maintaining a fridge temperature between 3°C and 5°C to minimize food spoilage. If your sprouts start to discolor or turn brown, they have started to spoil and should be discarded. If your sprouts develop a sour smell or appear sweaty, do not use them. Always thoroughly sterilize your sprouting equipment before starting a new batch.